
In this post, I would like to share with you my favorite go-to lesson for children ages 3-10. As a TVI/OMS advocacy and teaching children about their eyes and sight is integral to our job. The Expanded Core Curriculum (ECC) provides us with many opportunities to build awareness lessons into our instruction. It also offers us opportunities to educate the public at large.
Bullying on school grounds is unavoidable. However, if we help our students to share about their visual impairment and the accommodations they need, we can build empathy skills of their peers while also strengthening self-advocacy and self-determination skills in our students.
The perfect time for such lesson is October, as it is Disability Awareness month. More specifically, as it relates to our field: World Blindness Awareness Month. In 1964 Lyndon Johnson, the President of the United States declared October 15th of each year as White Cane Safety Day. If you would like to learn about what specific eye condition is being highlighted in which month, please visit Paths to Literacy for a list.
In general, TVIs take this opportunity to highlight Louis Braille and the braille code alongside the practical use of a Perkins Brailler and/or abacus to classmates of students with VI. This is an excellent lesson, but our low vision kiddos who do not use braille, cannot really relate. And that is where my lesson came from. I choose to take the lesson on braille into January, as it is when Louis Braille was born.

Image: a window display at a high school that shares facts about Braille, the braille code, and some facts about visual impairments.
Some O&Ms will create a maze to introduce children to the usage of canes. Some schools are fortunate to be near a guide dog school and might have some puppy raiser who are happy to come and spread awareness. Check out Perkins School for the Blind for some ideas.
I was a trained preschool and K-5 teacher before becoming a TVI/COMS. Therefore, I look for opportunities to use the same topic (theme) across multiple academic areas, as we all know, repetition is the key to learning. Moving the same topic across contexts also helps with generalization for all children.
Whenever I plan a lesson, I try to ensure that I follow the principles of Universal Designs for Learning (UDL). (If you have not yet heard about it, I will revisit it soon in another blog post.) Therefore, the lesson incorporates reading a book with a discussion to be followed, a hands-on art/science activity, and a video followed by discussion. I share ideas and often materials with the classroom teachers, on how to reinforce the learning we do in this short 20–30-minute lesson using additional opportunities.
The complete lesson plan with extensions to mathematics, reading, and science is available from our Google Drive.
Those who know me, know, that I am a book collector. If I can use a book to center a lesson I will. This means, that I have collected many children books that deal with disability or visual impairment. I believe in the power of stories, and what child does not enjoy a good book?
Some of the books you could utilize for Disability Awareness Month:
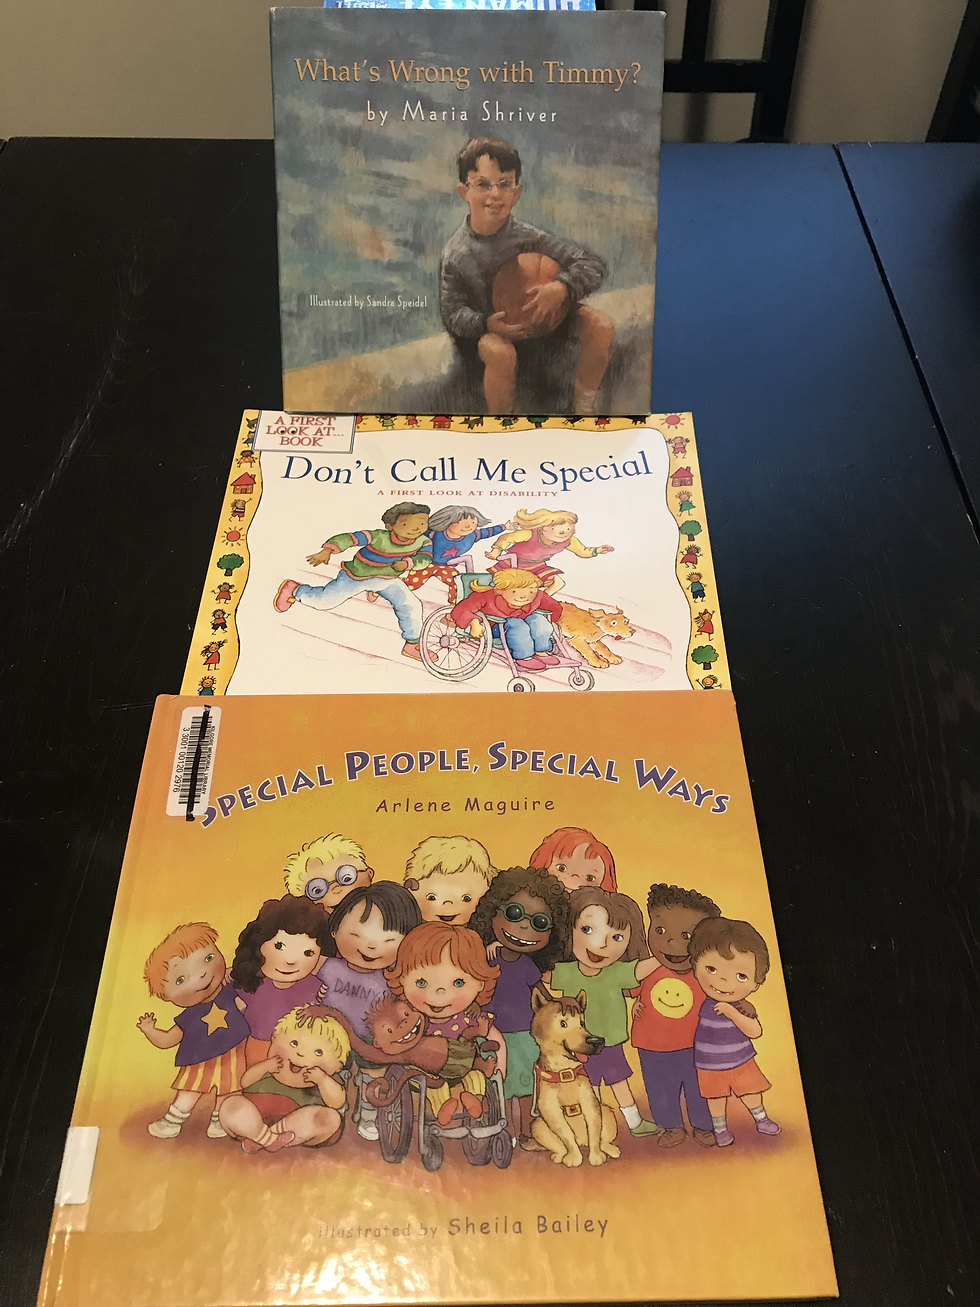
Image: Books: What is wrong with Timmy by Shriver; Don’t call me special by Thomas, Special people special ways by Maguire

Image: Books: My travelin' eye by Sue, All children have different eyes by Glaser & Burgio

Image: Books: Looking out for Sarah by Lang, Secret Code by Rau, Some kids are blind by Schaefer
Now onto the main reason for this post: I wanted to give you some visuals for how I create the foundation for my favorite lesson.
Ping pong balls affixed using hot glue to wide popsicle sticks
Ping pong balls can be purchased in bulk online. Hot glue is an essential tool of all TVIs. Having the ball on sticks, allows students to write their names on the stick, also helps with keeping the ball from rolling away getting the marker smudged.

Image: a dab of hot glue on the end of a wide popsicle stick

Image: the glue side of the popsicle stick is being pressed onto the ping pong ball

Image: Multiple sticks with ping pong balls on them drying

Image: of one completed eyeball with a green iris and black pupils next to some sharpies and ping pong ball bases
Once we created the foundation (ping pong on stick) we just need to make sure we have Sharpies for the students to complete their eyeball. I always take multiple black Sharpies for the pupil, as students usually begin at the same time on this part of the activity. Then they can choose the green, blue, or brown colors for the color of their iris. At this point students will likely not be at the same point of the task. Some are more precise, some are more cautious, and some just like to watch their peers before they begin.
Once the iris is completed, they will grab a red Sharpie and draw some red lines for the optic nerve, or if they make a mistake, they can color the back of the eye red to represent the retina.
You may or may not want to use an actual eye model. I bought one that appeared to be an accessible one (see image below) but it is not. However, it works perfect for our sighted little people, and the texture does resemble that of the sclera.
There are excellent models out there, but you need to decide if it is appropriate for your audience in a general education classroom.

Image: A cross section of the human eye model by Learning Resources
If you need ideas on how to teach about the eye, APH has a video from the Virtual Excel Academy: Learning about the Eyes.
If you need tactile images, APH’s Tactile graphic image library has you covered: Cross section of the eye

Image: Screen shot of the eye model on the tactile library site
Comentários